Create Multiple Users
This article explains how to create multiple new user accounts at one time with the Add New People Wizard.
Before you begin
Important: You can use this process to create new users or update existing users, but you cannot create new users and update existing users in the same upload.
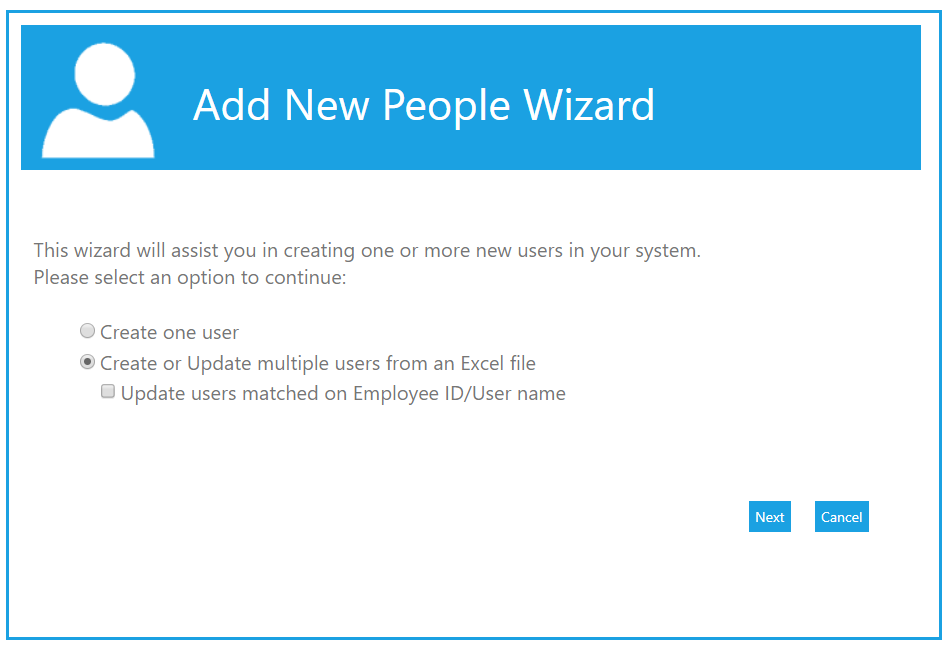
Open the wizard and download the template
- From the Administrator Console Navigation Bar, go to Wizards > Add New Person.
- Select Create or Update multiple users from an Excel file.
- Click Next.
- Click Generate Template to download the template for your LMS.
Complete the template
Enter the user information in the template. Required fields may vary depending on your system configuration.
| Field | Description |
| Status | Enter 1 to make the user active. If this field is left blank, the user will be inactive. |
| User Name | Required. Must be unique. |
| Password | Required. |
| First Name | Required. |
| Last Name | Required. |
| Employee ID | Required. Must be unique. |
| Email Address | Optional, but required in some systems. |
| Supervisor ID | Optional. Enter the manager’s Employee ID. The manager must already exist in the LMS and have the Manager role. |
| Title, Phone Number, Mailing Address, City, State, Zip Code, Country | Optional. |
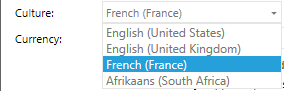
| Culture | Optional. Only available in globalized systems. If left blank, the LMS defaults to English. |
| Currency | Optional. Only available in globalized systems. If left blank, the LMS defaults to U.S. Dollar. |
| All domain fields | Required. Domain entries must exactly match the domain levels available in your LMS. |
Note: Culture values must exactly match the full culture description in the LMS. For example, enter French (France) exactly as shown in the LMS.
Tip: To avoid domain entry errors, run a report that includes the domain fields, then copy and paste the exact domain descriptions into the upload template.
Paste and validate the data
- After entering all user information in the spreadsheet, copy all rows, including the header row.
- Paste the copied rows directly into the LMS.
- Click Next.
- If the LMS finds errors, click Previous, correct the data, and submit it again.
- When you see No errors found, click Next.
Complete the upload
The LMS will warn you that you are about to create new users and that the action cannot be reversed.
Click Next to complete the process. Then click Finish or close the wizard window to exit.
Comments
0 comments
Please sign in to leave a comment.